
Every so often you want something sweet that isn’t a production. This is that. Six ingredients, one bowl, no baking, no thermometer, no fuss — and it happens to be dairy free, gluten free and refined-sugar free without anyone having to announce it. It’s a treat, not a protein hit — for that, see my guide to eating more protein.
It comes from my friend Katy — or, as she’s now known around here, Kasia #2 — and it’s been on high rotation ever since. I have one small square with a coffee and take my time with it — it’s rich enough that one is genuinely plenty.
Who it’s for: anyone who wants a proper little treat without a sugar crash, anyone feeding people with dietary bits and pieces, and anyone who has ever started making a dessert at 8pm and immediately regretted it.
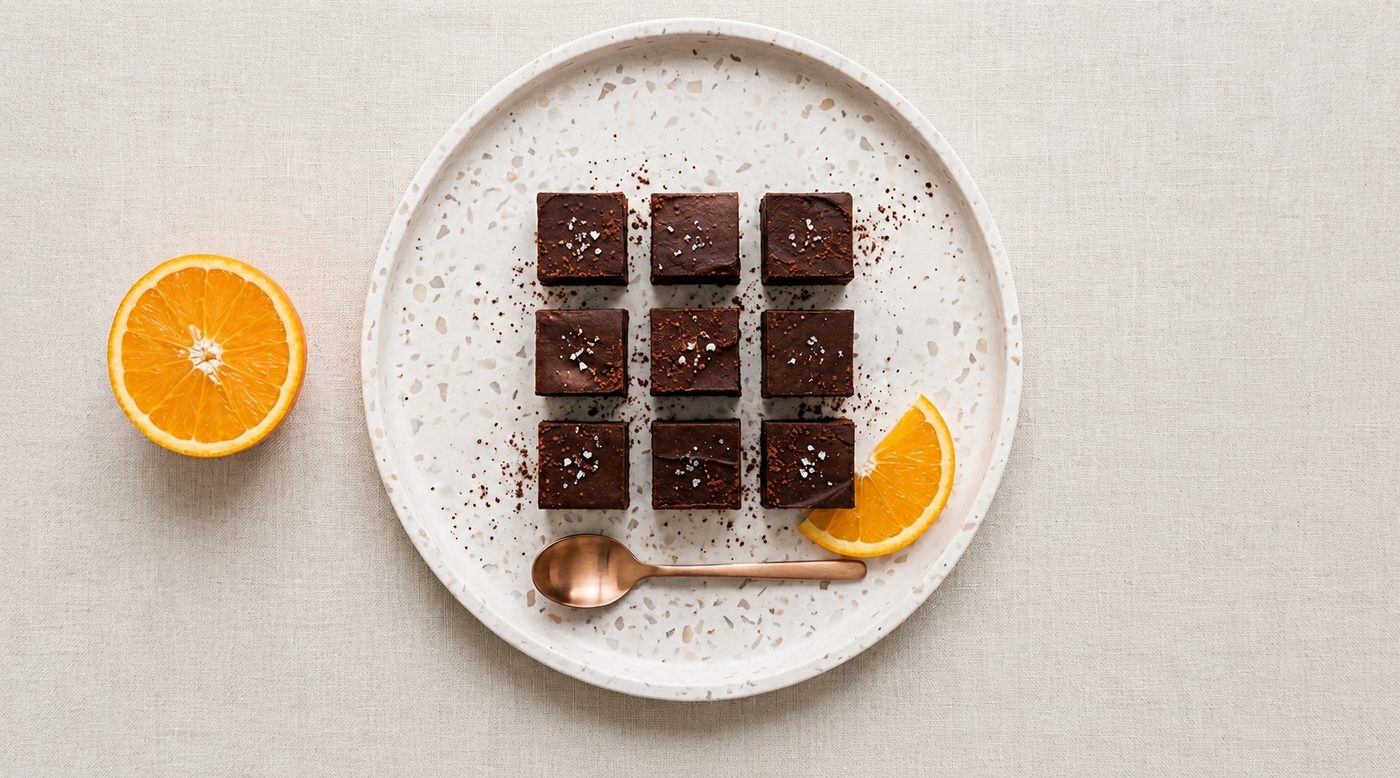
- 1 cup nut butter — almond, cashew, peanut or tahini
- 1/3 cup coconut oil, melted
- 1/4 cup raw cacao
- 1/4 cup maple syrup
- 1 tsp vanilla essence
- 1/2 tsp sea salt
- Zest of 1 orange (optional, but do it)
- Blend or stir the nut butter and melted coconut oil until completely smooth.
- Add the raw cacao, maple syrup, vanilla and sea salt. Blend again until glossy.
- Spread into a baking-paper-lined dish and smooth the top with a spatula.
- Set in the fridge (about an hour) or the freezer if you’re impatient (20 minutes). Cut into small squares.
Let’s talk about the raw cacao
This is the ingredient doing the heavy lifting, and it’s worth using the real thing. Raw cacao is cocoa in its least processed form — it hasn’t been roasted at high heat, so it keeps more of its magnesium, iron and antioxidants than standard cocoa or drinking chocolate. It’s deeper and slightly more bitter, which is exactly what you want against the maple syrup and nut butter. If all you have is regular cocoa the fudge still works, it’s just a little sweeter and less complex.
A note on the coconut oil (and the seasons)
This recipe behaves differently depending on the weather, and it’s worth knowing why. Coconut oil is solid below about 24°C and liquid above it. In an Australian summer it’s already melted on the shelf, so the whole thing comes together in about thirty seconds — barely any blending needed. In winter you’ll need to melt it first (gently, in a warm bowl or a few seconds in the microwave) and it’ll take a touch longer to set. Same recipe, completely different effort level depending on the month.
Make it yours
The base is a blank canvas. My number one is orange zest — stirred through, it turns this into a jaffa situation and it’s the version I make most. Beyond that:
Toasted coconut — flakes toasted in a dry pan until golden, half stirred through and half scattered on top. Toasted chopped almonds or hazelnuts for crunch. Flaky sea salt pressed on top just before it sets — salted chocolate, essentially. A pinch of chilli or cinnamon for warmth. Freeze-dried raspberries crushed over the top for tartness and colour. A spoon of espresso or instant coffee for a mocha version. Mix and match, but I’d keep it to one or two additions per batch — this is meant to be simple.
A few tricks
The blender shortcut. I use a standalone blender with a triblade chopping-bowl attachment (pictured) — everything goes in, thirty seconds, done, and only one thing to wash. Learn from my mistake and don’t use a little stick blender for this: I killed the motor on mine by relentlessly blending hard, cold ingredients until it gave up entirely. A proper blender or a small food processor handles it happily. And in summer, when the coconut oil is already liquid, you barely need any of it — a bowl and a spoon will do.
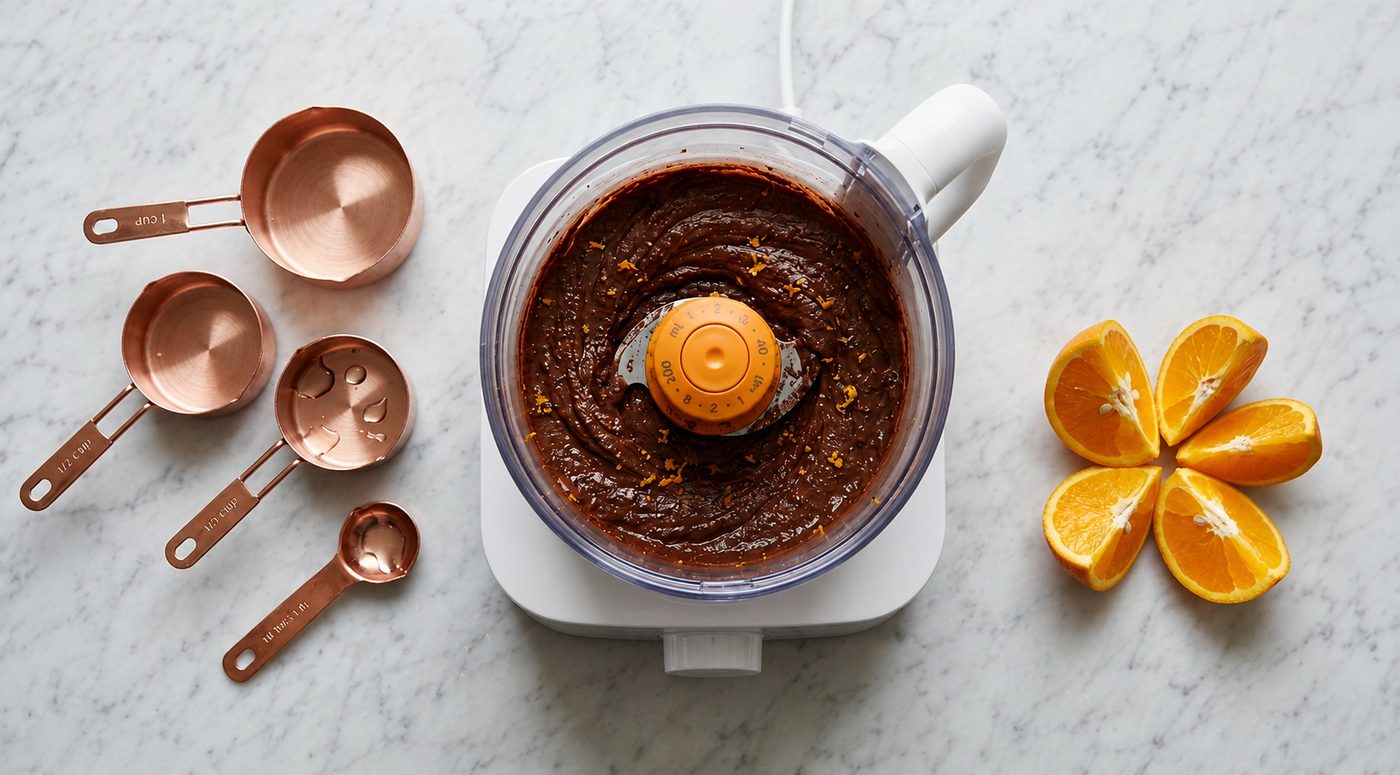
Zesting without the rage. Zest the orange before you juice or cut it, while it’s whole and firm — much easier to hold. Two tricks change everything here. First, one stroke, then rotate: never grate the same spot twice. One pass takes exactly the orange layer; a second pass on the same patch digs into the bitter white pith. So one stroke, turn the orange a few degrees, next stroke on fresh skin. Second, flip the microplane over — hold it blades-down over the bowl. The zest falls straight through instead of clogging the underside, so you’re not pressing harder and harder and suddenly going too deep. Zest straight over the bowl either way, to catch the oils that spray out. No microplane? A vegetable peeler works — take shallow strips of just the orange skin, then finely chop them.
Cutting it cleanly. Let it sit at room temperature for a couple of minutes before slicing, and use a warm knife (run it under hot water and wipe dry). Cold fudge straight from the freezer shatters rather than slices.
Storage. Keep it in the fridge — because of the coconut oil it softens at room temperature and will go melty on a hot day. It keeps for a couple of weeks in an airtight container, and freezes well for a few months if you want to hide some from yourself.
One honest thing
This is a treat, and it’s meant to be. It’s made from better stuff than a supermarket chocolate bar — real fats, a little natural sugar, actual cacao — but it’s still energy-dense, and that’s completely fine. The whole point is that you have one small square, slowly, with a coffee, and feel genuinely satisfied. That’s a much better relationship with something sweet than a “guilt-free” dessert you end up eating half a tray of because it never quite hit the spot.
Want your food, training and the occasional square of fudge working together rather than at war? Come and train with me in Coogee.